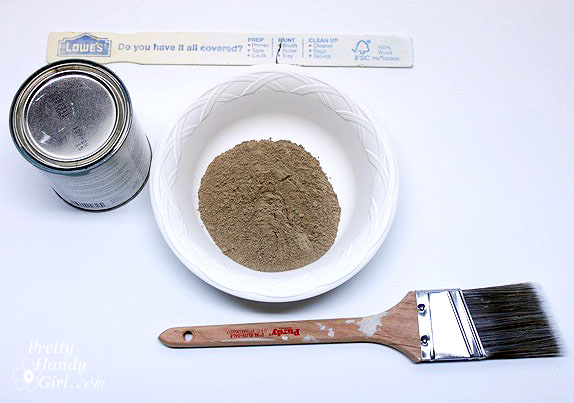
Making your own colored chalkboard paint is nothing new. The first recipe I found was from Martha Stewart and it worked for me. Since then, I’ve made the recipe a few times, but now I eyeball the amount of unsanded grout I use until it has a cake batter consistency.
The first time I made the chalkboard paint, I freaked out a little because it was so lumpy. But, after working with the recipe several more times, I realized that this is somewhat normal. I figured you might like to see a little video clip showing the consistency of the colored chalkboard paint.
Recipe for Colored Chalkboard Paint:
- 1 cup latex or acrylic paint (flat or satin sheen)
- 2 tbsp unsanded grout
- bowl to mix in
- paint brush
- stirring stick for paint
Mix paint and a small amount of grout in a bowl. Add more grout until you get a cake batter consistency. Break up as many clumps of the grout as you can. Mix until most of the lumps have disappeared.
One thing you should know is that there will be lumps in your paint. Do the best to stir them out as best as you can. But, ultimately as you start to spread the paint on the surface you are painting, the grout chunks will smooth out. Trust me, don’t freak out.
Paint your pre-primed surface and let it dry. Add a second coat if needed. Season the chalkboard surface by rubbing the side of a piece of chalk over the surface. Wipe it off with a DRY rag.
Write your message and rejoice that you made your own chalkboard paint!
Cover in lace doilies, paint, add a votive candle, and remove the top for a perfect mason jar luminary.
Balloon-Dipped Mason Jars
1. Fold your balloon in half, the long lengthwise and snip about a quarter inch off the top.
2. Cut off the skinny “stem” of the balloons.
3. Pull over the bottom of your jar and up the sides.
4. That’s all!
PAINTED MASON JARS
Thank you for reading We are Family Becerra...Hunt....Trevino


No comments:
Post a Comment